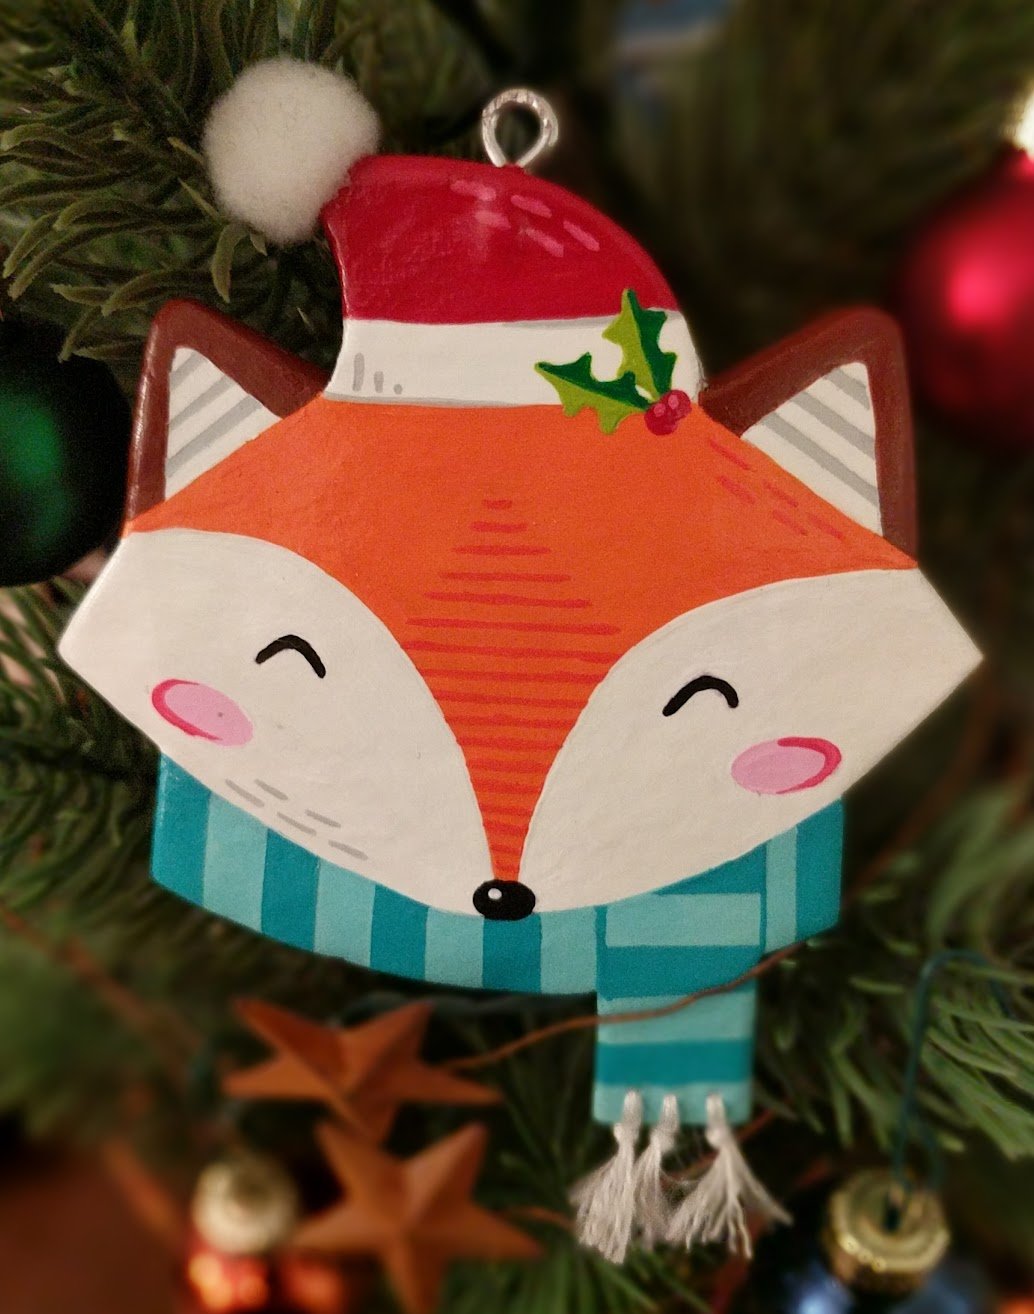
Handmade Clay Fox Ornament, 2019
air dry clay, acryla gouache, embroidery stringChristmas is a great opportunity for me to create custom gifts for my friends and family. It also gives me an opportunity to play with clay. This year I decided to make cute little foxes using Das air dry clay. This method is more time intensive compared to polymer clay as you have to allow time for the air to dry instead of baking it in an oven. And if you want to avoid cracks or warping, the slower the dry time, the better.
I like to roll my clay with something on either side to maintain an even thickness, in this case I used some small pieces of quarter inch foam-core boards.
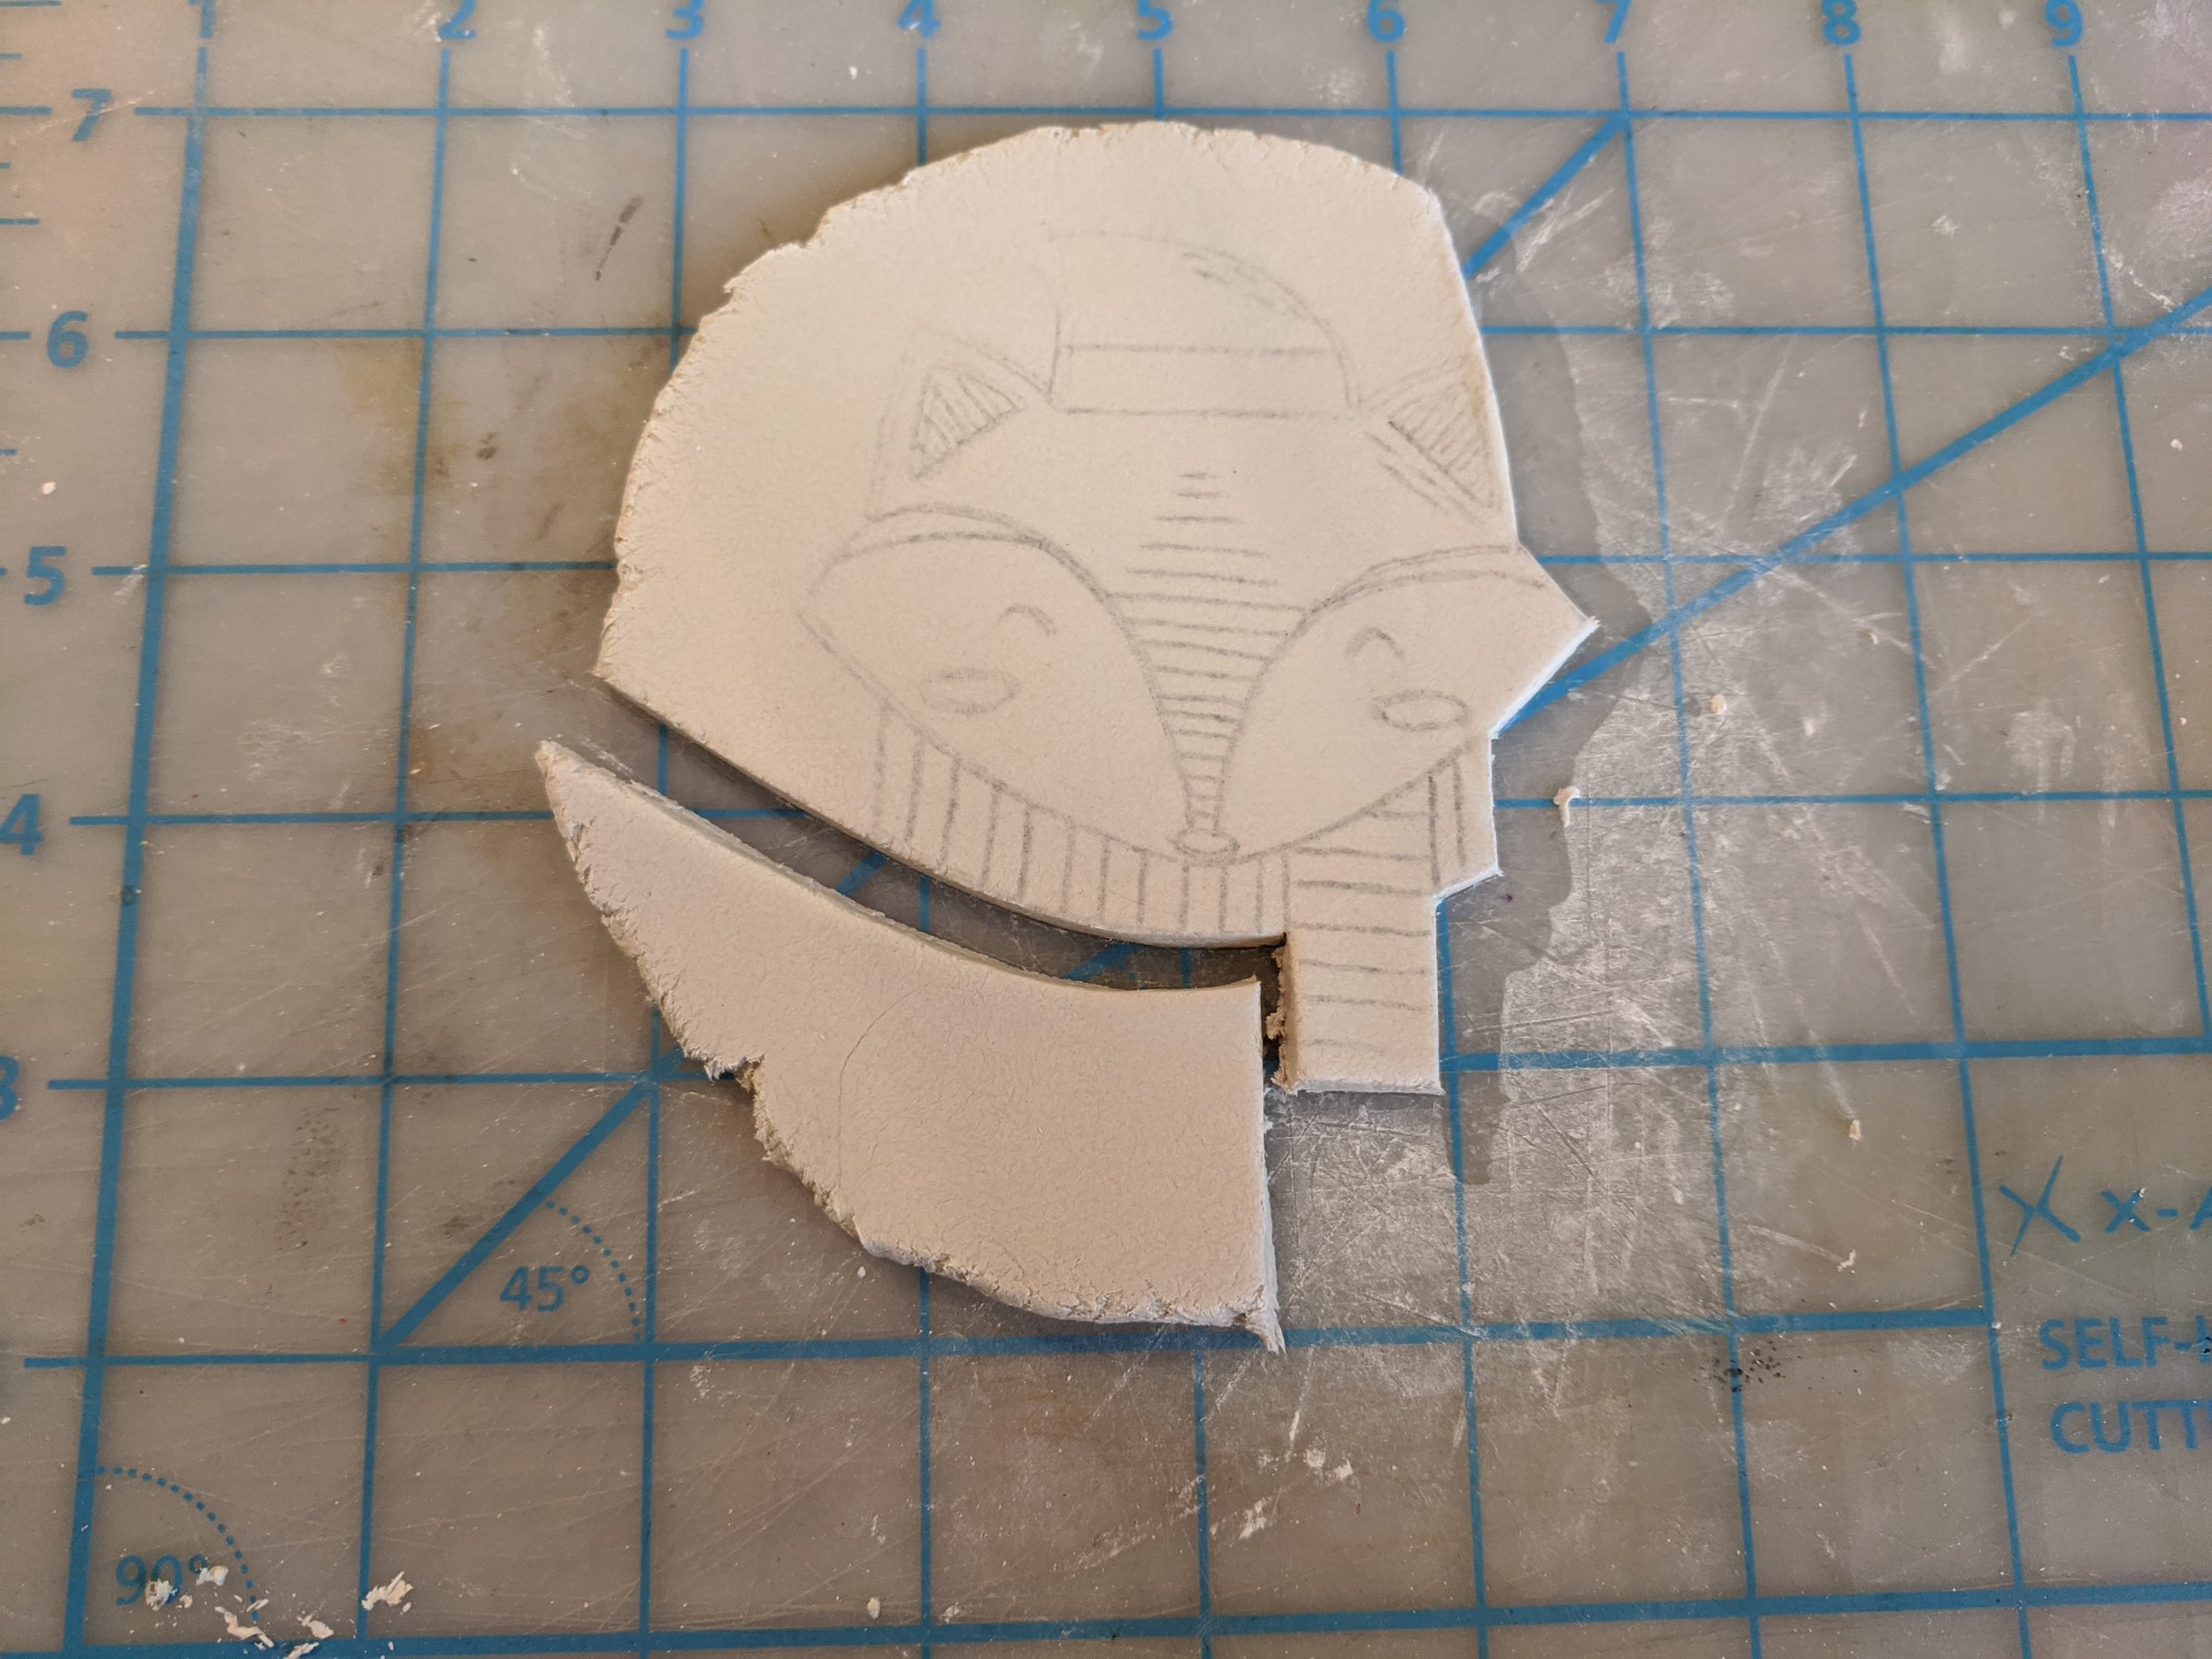
I drew my design onto tracing paper (being sure to invert it) and lay it pencil side down on top of the clay. Then I carefully roll it over, transferring the pencil graphite onto the surface of the clay.
This makes cutting out the design much easier. I just use a sharp x-acto knife. Just wet your finger to smooth out any rough edges.
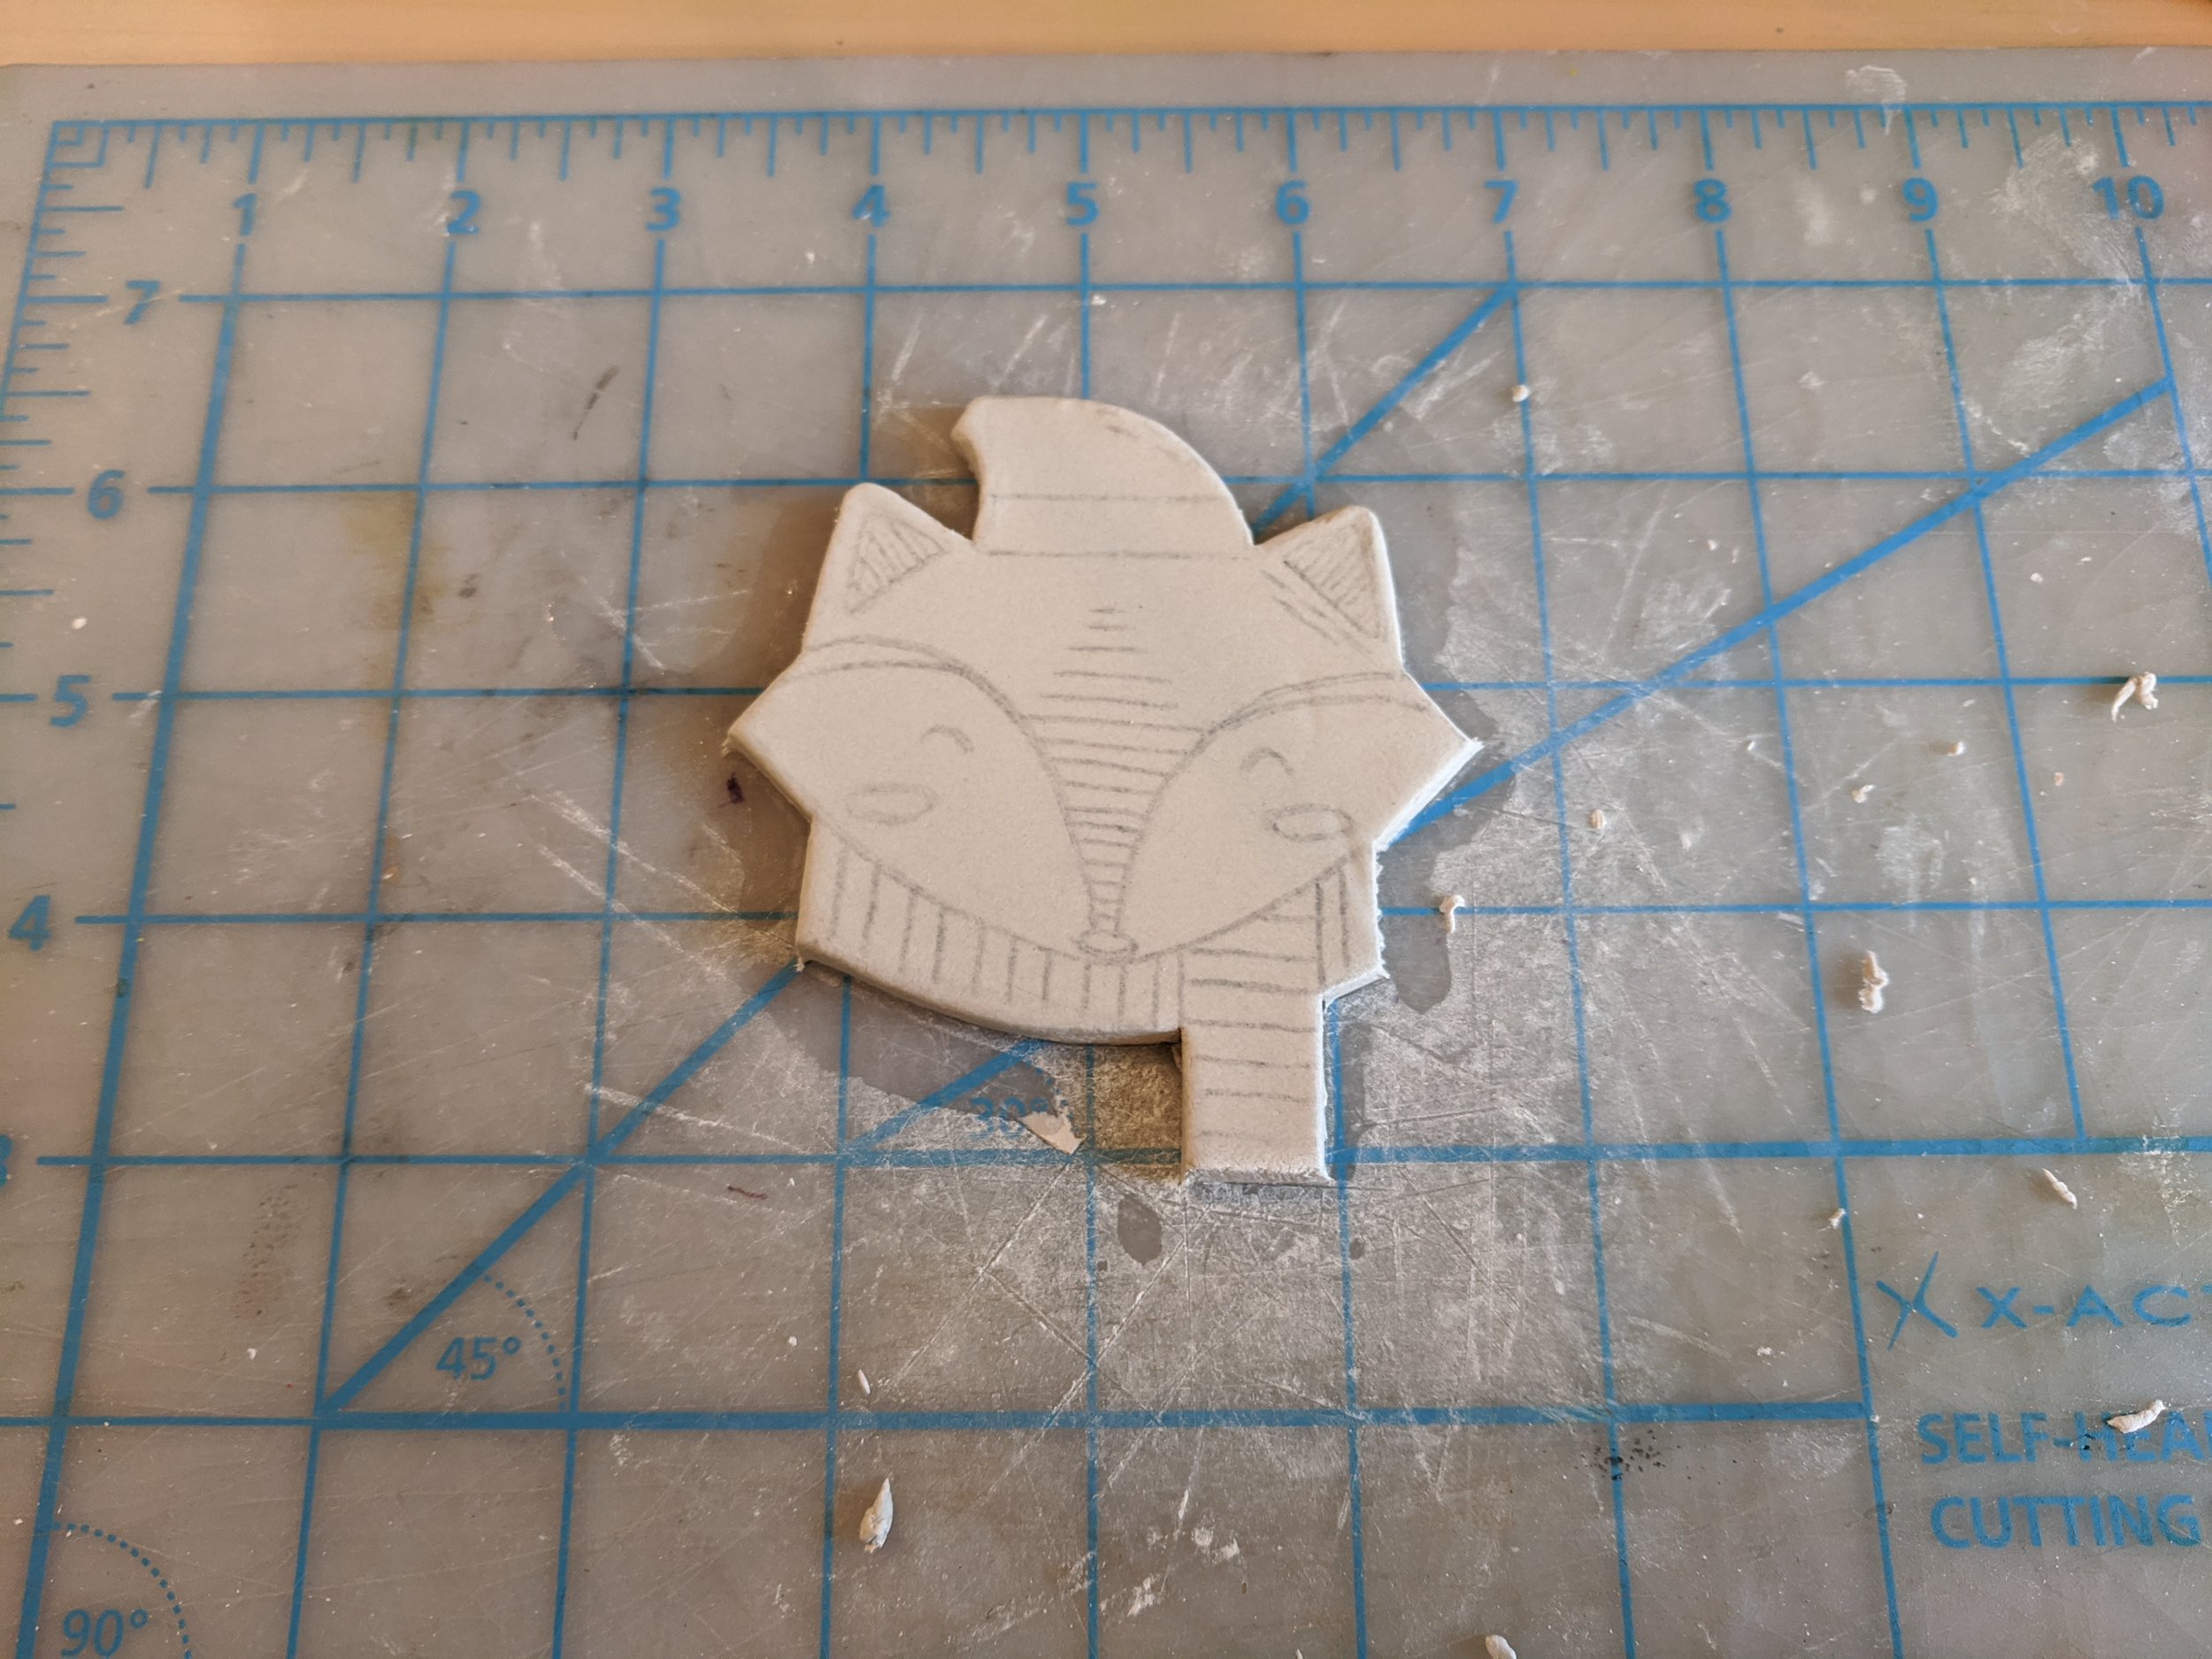
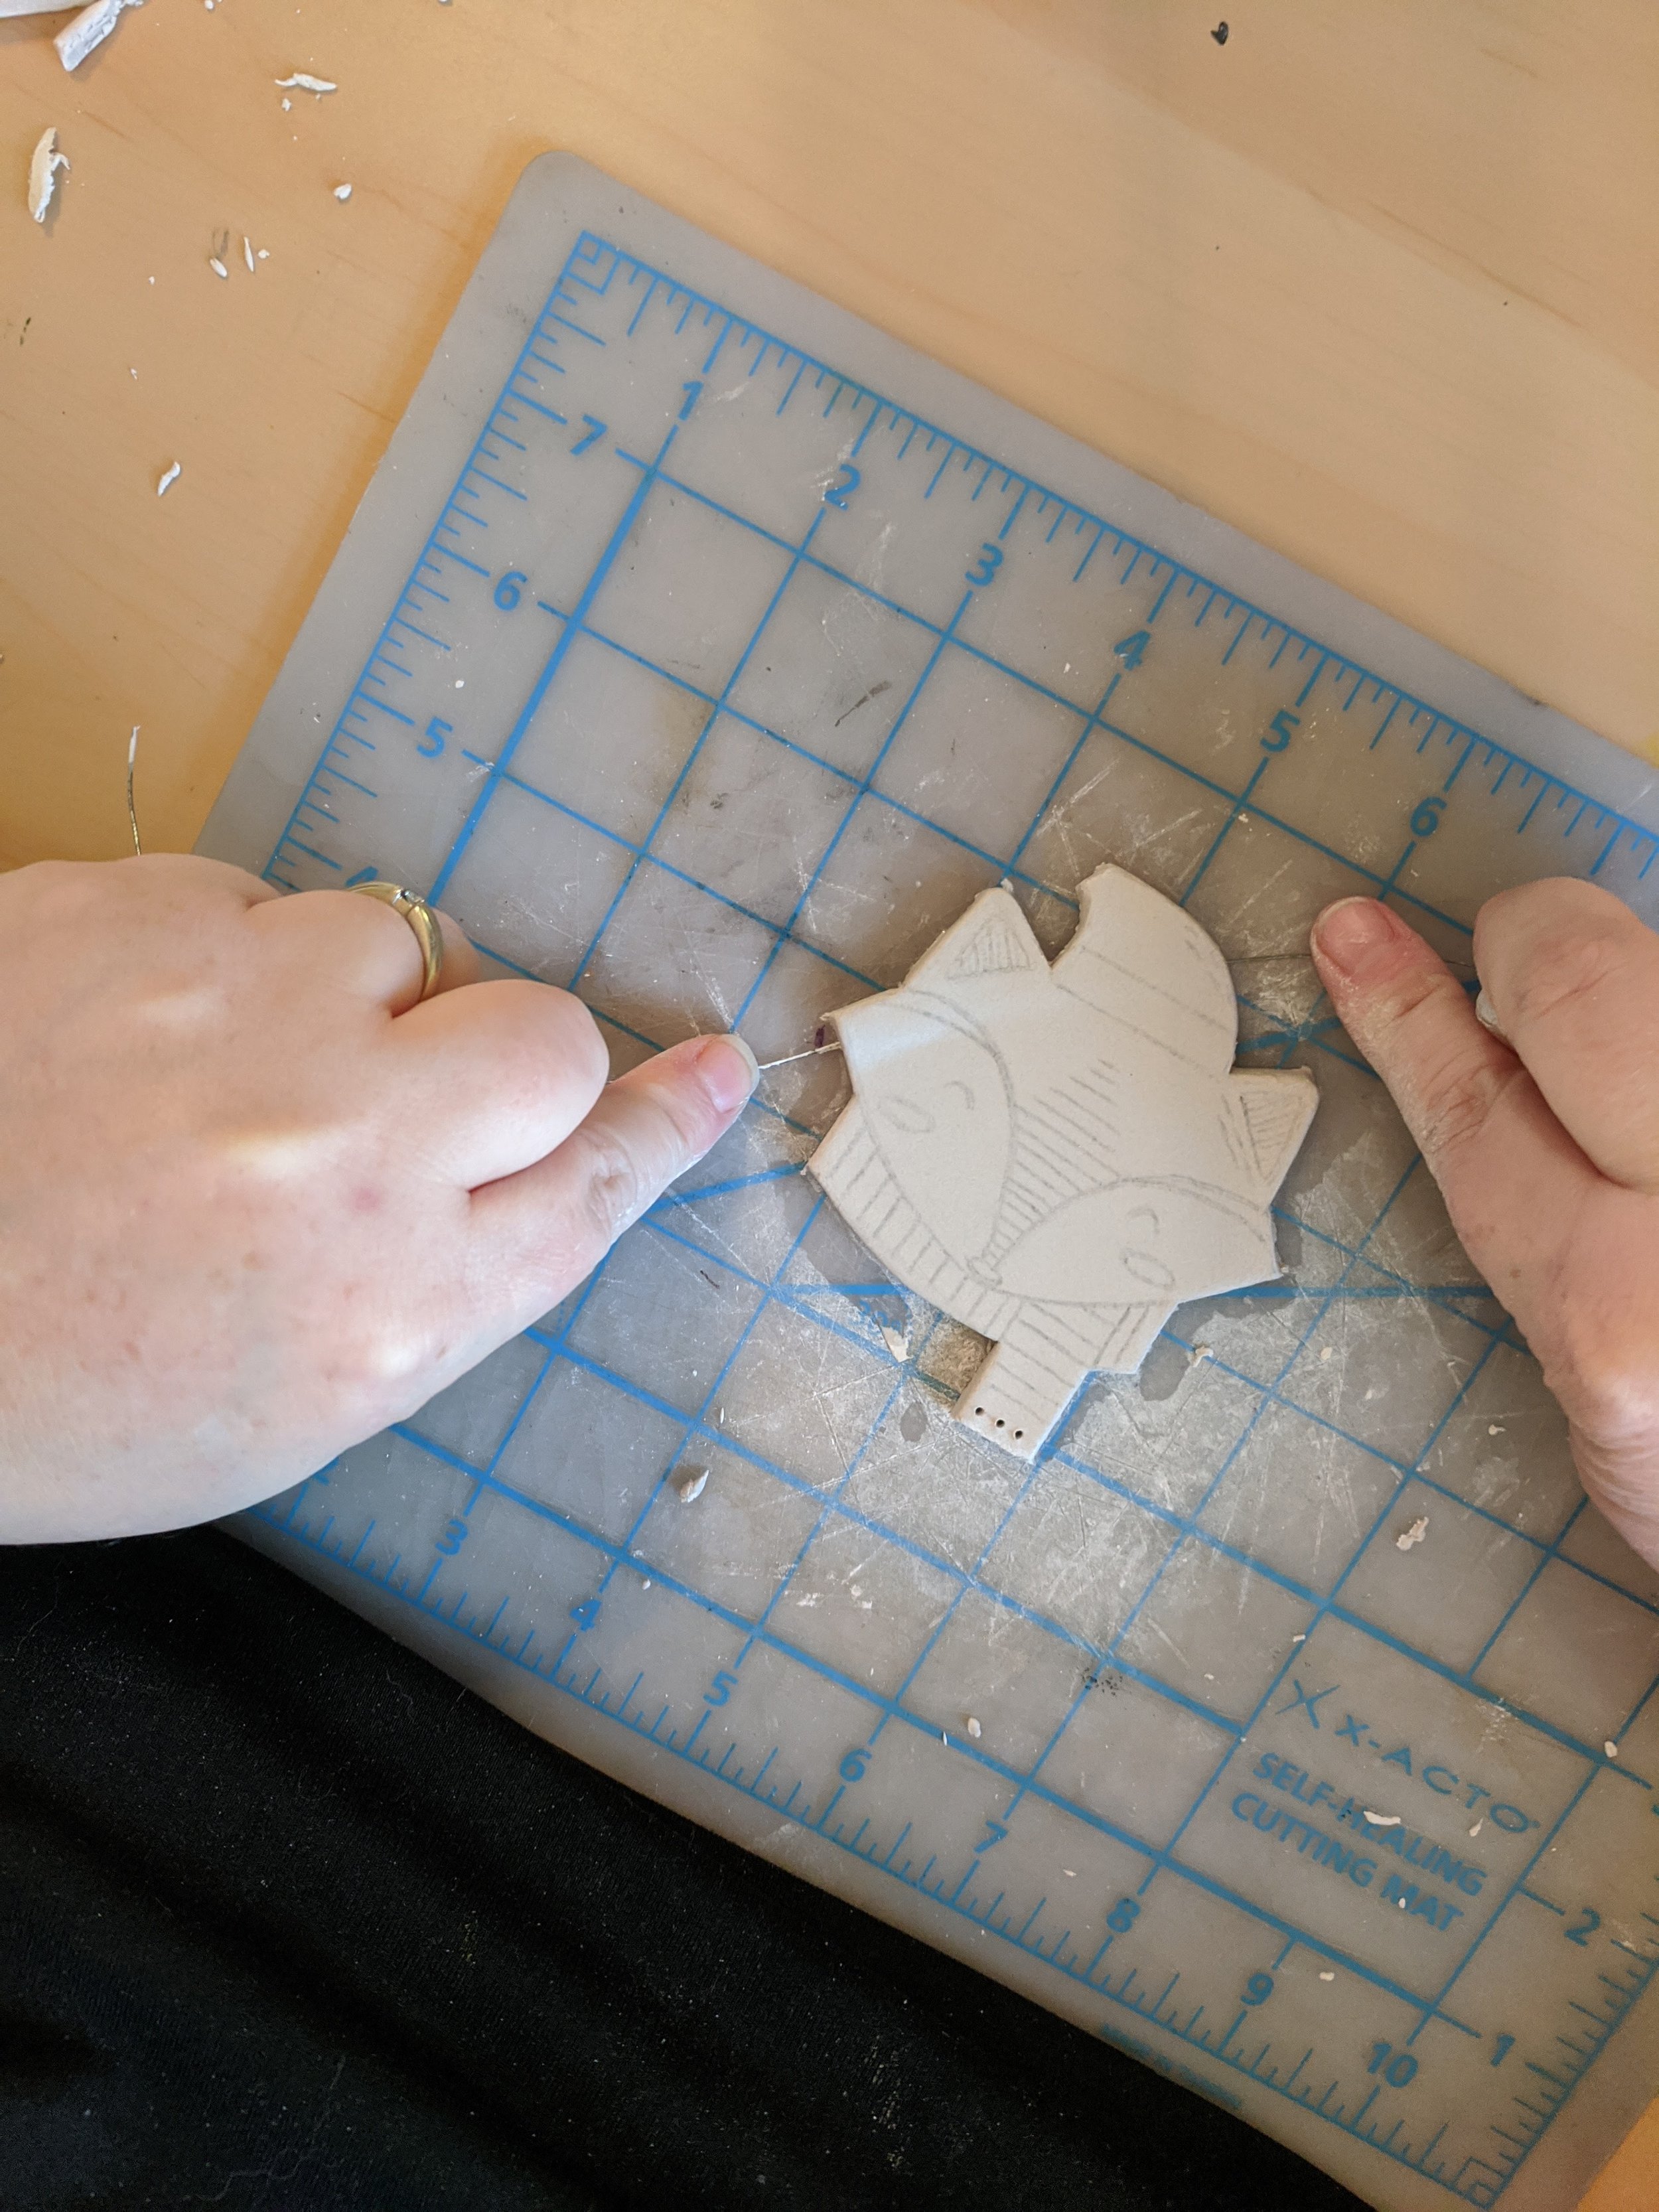
Carefully lift the clay piece from your work surface. I used a thin wire to scrape mine off.
Before it dries, be sure to add any holes you’ll need. I added one for the eye hooks at the top and a few extra holes at the base of the scarf for some fringe accents I’ll be adding later.
Once the clay is fully dried I painted it with gouache and sealed it with an acrylic sealer.
The finishing touches included gluing the eye hook and a little poof-ball in place, then stringing some embroidery thread through the extra holes I made for a nice fringe detail on the scarf.